Properly Applying Caulk in Your Home
Applying caulk is something that most people think they already know how to do. After all, it can’t be too hard once you have the caulk and the caulk gun. However, if you do not know how to apply this correctly, you could end up with messy joins in your bathroom and other areas of the house.
Gather Your Tools
The first step to applying caulk is to get the right tools together before you start. You do not want to be ready to apply the caulk only to find that you are missing something to complete the job. The first item you need is the caulk and you need to be careful when choosing one.
There are a few different types of caulk on the market and they will work best in different areas of your home. Vinyl latex caulk will be best for areas that stay dry while silicone caulk is better for wet areas like your bathroom. If you are going to be applying caulk outside, you should look for butyl rubber caulk.
Once you have the right caulk, you need to get a caulk gun which helps with dispensing. You also need to have a retractable razor scraper and some blue plumbers tape. If you are using silicone caulk, you also need to get some rubbing alcohol. The last item you need will be several small cotton rags.
Remove The Old Caulk And Clean The Area
You should never apply your new caulk onto the old caulk. This will cause problems later on and could lead to the new layer peeling. To remove the old caulk, you will need to use the razor scraper.
These scrapers will work the best in the bathroom and kitchen where you are taking caulk from ceramic surfaces. In other areas, the razor could scrap away paint and you need to be aware of this. Once the old caulk has been removed, you will need to clean the area. The best way to do this will be to vacuum the debris and the open joint.
Tape The Surface
When you paint your home, you should use tape to keep the edges neat. The same should be done when you are applying caulk. This is where your blue plumber’s tape will come into play as you tape both edges of the joint.
A strip of tape needs to be applied to where you want the edge of the caulk to be. You need to ensure that the tape is straight and that you have used a long section. Your application will generally look best when it is only a quarter inch in width.
Apply The Caulk
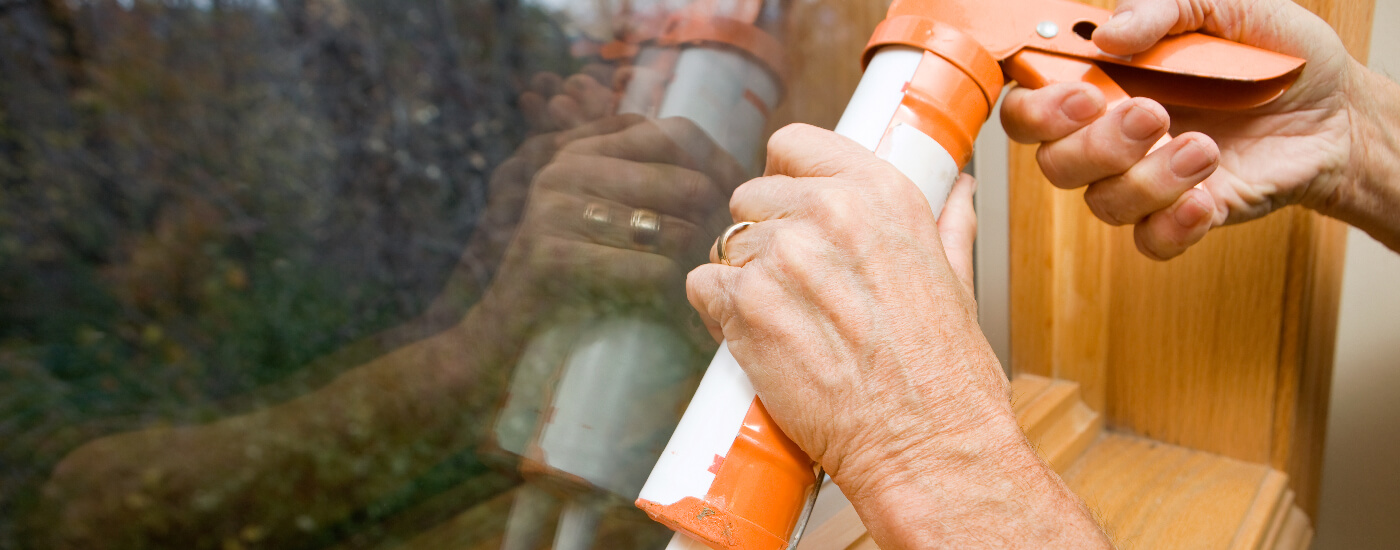
After preparing the area, you can start to apply the caulk. You will need to cut the tip of the nozzle at a 45-degree angle and puncture the inner seal. There are many caulk guns that will have a built-in cutter and puncture wires that you can use. Cutting the nozzle at an angle is important because it will make application easier.
You can now place the caulk in the gun and stop applying. You should hold the gun at a 45-degree angle and squeeze hard enough to force the caulk into the joint. You do not want it to sit on the top of the joint only.
As you are applying the caulk, you need to move the top along the length of the joint. You should move at a slow, but consistent speed to ensure a smooth and even application. The smoother the application of your caulk, the better the end result will be.
Smooth The Joint
The last step to take is to smooth the joint to give it a professional finish. You can use your finger to do this or a tool which has been designed for this. If you are going to use your finger, you need to cover it with a latex glove.
When smoothing the joint, you need to apply firm pressure and work from one end to the other. When your finger is covered with the excess caulk, you need to wipe it off with a damp rag. Once the entire area has been smoothed, you can remove the plumber’s tape by pulling it away from the joint in a slow and steady motion.


